Step 1: Prepare test equipment
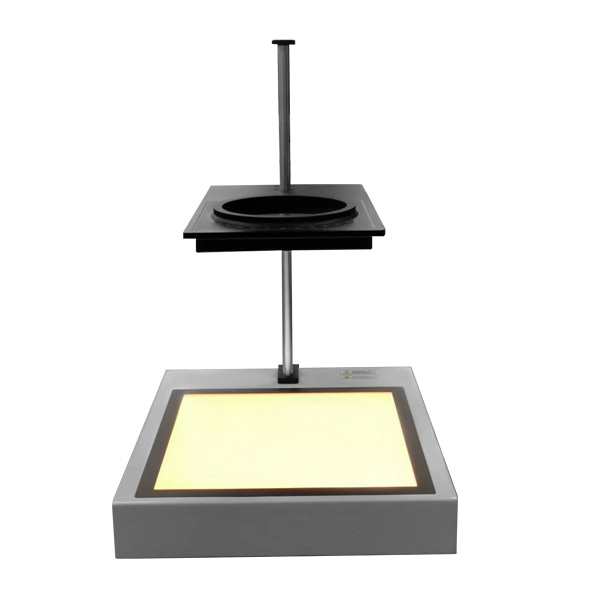
Firstly, you need to prepare a polariscope. A polariscope is a professional optical instrument used to test the polarizing properties of materials. You can buy or rent this equipment at an optical store or professional laboratory.
Step 2: Set up the polariscope
Place the polariscope on a stable table and connect its power source. Adjust and calibrate the polariscope for glass according to the device's operating instructions to ensure accurate testing.


Step 3: Place the glass sample
Place the polarized glass sample to be tested under a polariscope. Make sure the sample surface is flat and has no obvious stains or damage.
Step 4: Observe the glass sample
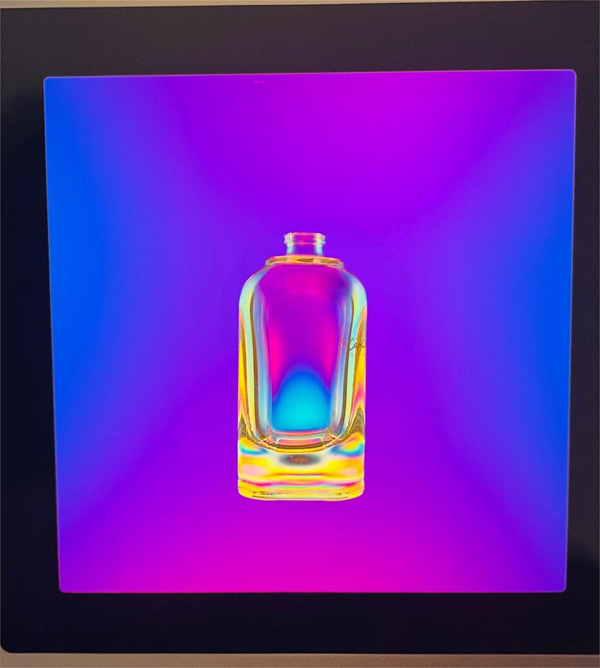
Observe the glass sample through the top analyzer of a polariscope. Under normal room light conditions, you will see the glass exhibit a rainbow of interference fringes.

Step 5: Rotate the Analyzer
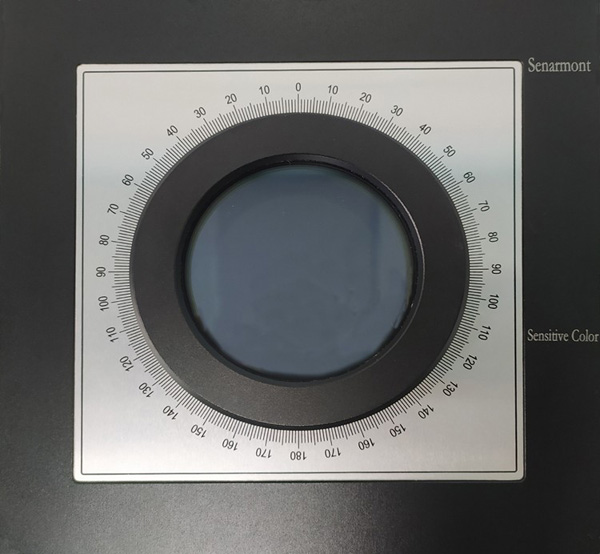
While observing a glass sample, rotate the analyzer of a polariscope. You will notice that as you rotate, the brightness and contrast of the interference fringes change. You need to find the position of the optical axis that gives the interference fringes the sharpest and most contrast.
Step 6: Confirm the polarization effect
After determining the optimal optical axis position, look at the glass sample again and you should be able to see significantly reduced outdoor and specular reflections.
During the test, make sure the sample surface is clean to avoid affecting the test results.
Follow the polariscope operating instructions to ensure proper use and safety.