Email Us
en
auto visual inspection machine

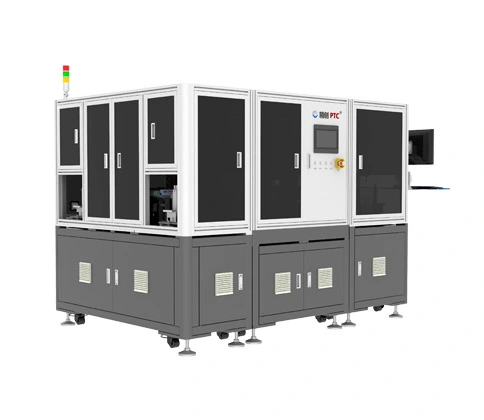
AMB Cosmetic Defect Automatic Inspection Equipment

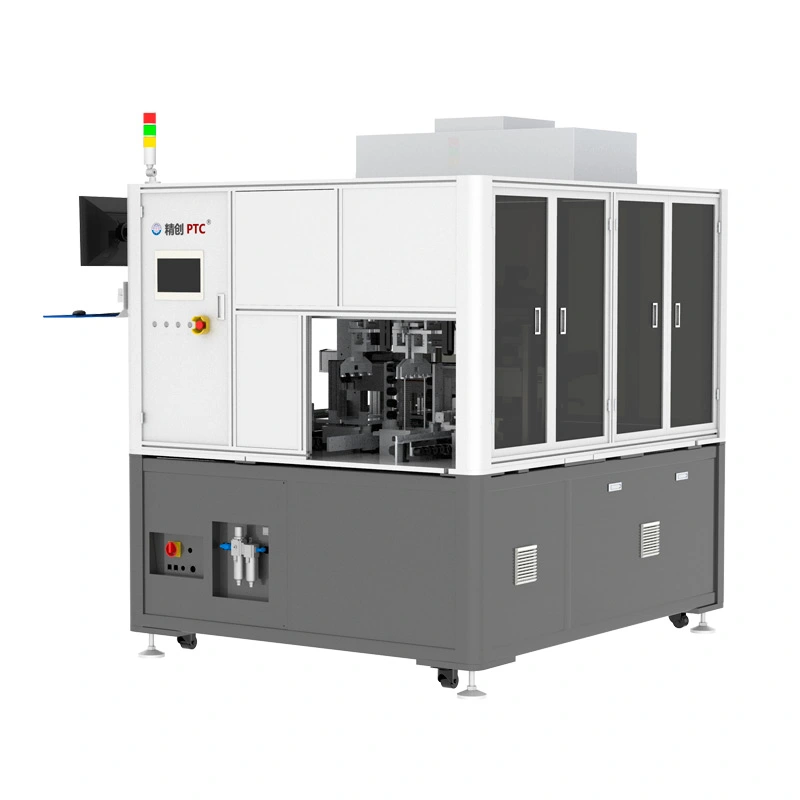
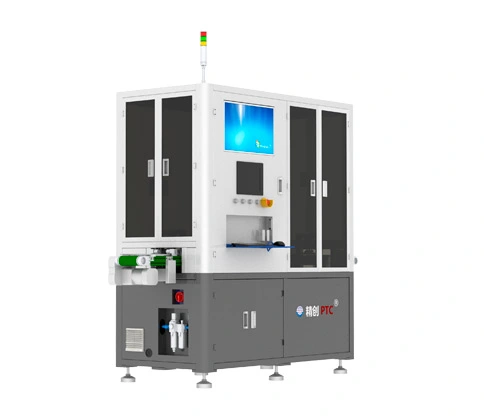
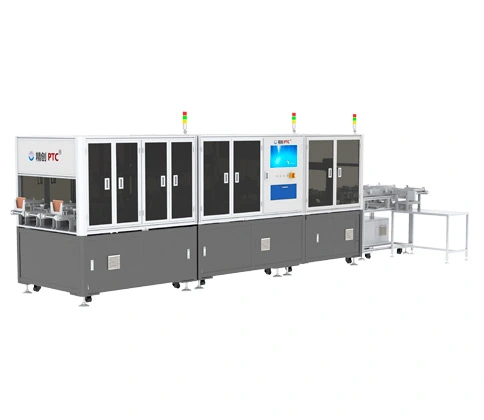
This auto optical inspection machine is an automatic system for AMB defect terminal inspection, including loading machine, AOI machine, unloading machine and workstation. This automatic optical inspection equipment can greatly improve the product detection rate, thereby improving production efficiency for enterprises and save production costs, realizing one-stop automatic operation.

The AOI machine adopts two-station design to scan the upper and lower surface with the incoming products, and inspects various defect sizes and marks defect position coordinates, judges OK and NG products automatically, then sorts them into different ports of the unloading machine. User can review product inspection data and defect map information at the workstation, which greatly facilitates product inspection status analysis and re-inspection.


Features of AMB Cosmetic Defect Automatic Inspection Equipment


  • Test template setting based on different cosmetic judgment standards and dimension drawings of different products. The test template can be saved and recalled for different applications;

  • Defect category, defect size and location coordinates display. Defect cutout and complete image storage can be performed;

  • Parameter setting. Such as defect marking color, light source and camera parameter setting and others;

  • Counting on product information, batch information, quantity and yield. Data save, query and export to Excel are available;

  • Account management function. User can add, modify and delete login accounts in the software;

  • Equipment running status recording function, recording abnormal running problems.


Specifications


Model No.

DE-AMB200

Testing object

AMB Copper Ceramic Board after cutting ( before singulating, along with cutting lines on the board)

Testing object thickness

0.5mm-1.2mm

Defect inspection range

Poor etching, poor plating, poor solder mask, color deviation, scratch, oxidation, depression and others

CT

≥350pcs/h

Defect marking

Laser marking can be used for defective small samples.

Defect types can be marked and number of various defects can be counted

Overall size

3350mm(L)×1800mm(W)×2000mm(H)(the height doesn't include FFU)


CONTACT PTC FOR DETAILED SOLUTIONS
sales@ptcstress.com
86-512-57925888
No.581, Hengchangjing Road, Zhoushi Town, Kunshan City, Jiangsu Province, China
Our experts will respond to your inquiry soon.
RELATED PTC EQUIPMENT
No.581, Hengchangjing Road, Zhoushi Town, Kunshan City, Jiangsu Province, China
CONTACT PTC FOR DETAILED SOLUTIONS
Chat with us
No.581, Hengchangjing Road, Zhoushi Town, Kunshan City, Jiangsu Province, China
sales@ptcstress.com 86-512-57925888